File Structure
The file structure for this project will be as follows:
my-serverless-bot
  - bot/    - commands/    - components/      - buttons/
  - lambdas/
  - utilities/  - package.json  - sst.config.ts
SST Setup
The setup is simple, but important. This also assumes you have already setup your AWS account for SST. You can always use create-sst, but in my opinion the template it has is overkill for what we need. All we need is a single Lambda function.
So for a simple starting point I’d recommend just a blank package.json like so:
{
"name": "my-bot", "version": "1.0.0", "type": "module", "private": true}After that just initialize SST:
npx sst@latest init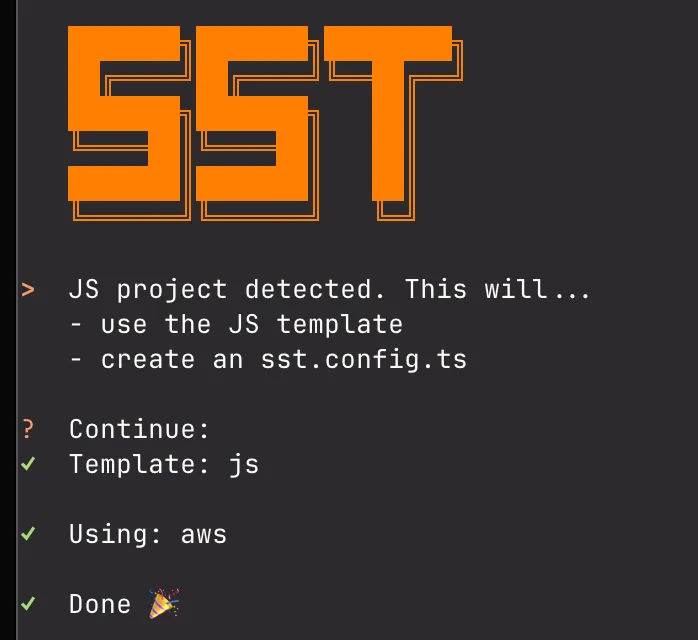
This process will produce an sst.config.ts file, which is the main configuration file for your SST project and will look something like:
/// <reference path="./.sst/platform/config.d.ts" />
export default $config({ app(input) { return { name: "serverless-bot", removal: input?.stage === "production" ? "retain" : "remove", protect: ["production"].includes(input?.stage), home: "aws", }; }, async run() {},});Testing SST Setup
Let’s ensure this works by deploying it. Something to note: SST will default the “stage” to your computer username and if you want to overwrite this you have to use the --stage flag. Personally what I do is add the following to my .zshrc file:
export SST_STAGE=devOnce you’re ready to go:
npx sst deploySST 3.17.21 ready!
➜ App: serverless-bot Stage: dev
~ Deploy
| Info Downloaded provider aws-6.66.2
↗ Permalink https://sst.dev/u/xxxxxx
✓ CompleteHead on over to your AWS console and you can validate the resources deployed by checking that the SSM parameters exist in your Systems Manager.
Our First Lambda
Now that we have our SST setup, let’s create our first lambda function. It will be simple, just return basic JSON!
export async function handler(event) { return { message: "Hello, world!" };}Then we just add this function to our SST config:
/// <reference path="./.sst/platform/config.d.ts" />
export default $config({ app(input) { return { name: "serverless-bot", removal: input?.stage === "production" ? "retain" : "remove", protect: ["production"].includes(input?.stage), home: "aws", }; }, async run() { new sst.aws.Function("DiscordInteractionHandler", { handler: "lambdas/interaction.handler", url: true, }) },});Setting url: true will create a URL that you can use to invoke the function and is required for Discord to interact with your bot.
At this point just npx sst deploy again and you should see the URL in the output, just visit the URL and you’ll see the JSON response.
Tip
You can also run npx sst dev to see the output of your function right in the terminal. This is useful for testing and debugging.
Dressed Setup
Installation
npm install dressedCLI
Dressed’s CLI will take care of bundling the code for the bot into a single JavaScript file. The following can be found in the help command for Dressed, npx dressed build --help:
Usage: dressed build [options]
Builds the bot and writes to .dressed
Options:  -i, --instance                 Include an instance create in the generated file  -r, --register                 Register slash commands  -e, --endpoint <endpoint>      The endpoint to listen on, defaults to `/`  -p, --port <port>              The port to listen on, defaults to `8000`  -R, --root <root>              Source root for the bot, defaults to `src`  -E, --extensions <extensions>  Comma separated list of file extensions to include when bundling handlers, defaults to `js, ts, mjs`  -h, --help                     display help for command
In our case we don’t need to change the port or have an instance since we’re manually handling the request, those are for when you’re using Dressed’s built-in server. We also don’t need to change the endpoint either since we’re using the URL generated by SST.
What we will do is change the --root of the project since we’re using bot/ instead of src/ as the root directory. Our final “build” command will look like:
npx dressed build --root botThis will output a .dressed directory, which you should definitely add to your .gitignore file. This directory contains the bundled code for your bot and is not meant to be committed to your repository.
Deployment Scripts
To simplify our workflow, let’s add some npm scripts to our package.json. As we progress through the tutorial and add DynamoDB, we’ll need to use sst shell to ensure linked resources are available. Setting these up now will save you from typing long commands later.
{ "name": "my-bot", "version": "1.0.0", "type": "module", "private": true, "scripts": { "build": "sst shell -- dressed build --root bot", "deploy": "npm run build && sst deploy", "register": "sst shell -- dressed build --register --root bot && sst shell -- node .dressed" }}What these scripts do:
npm run build- Builds your Dressed bot commands and componentsnpm run deploy- Builds and deploys to AWSnpm run register- Registers your slash commands with Discord
For now, you can still use the simpler npx dressed build --root bot and npx sst deploy commands since we haven’t added DynamoDB yet. Once we add database functionality in Part 4, you’ll need to use these scripts.
Now that you’ve set up both Dressed and SST, let’s move on to the next part of the guide and create your first command!